
Forklift Tools
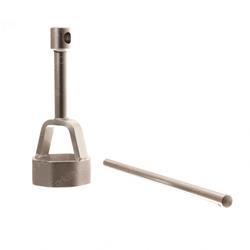
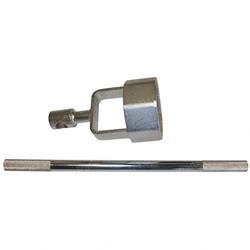
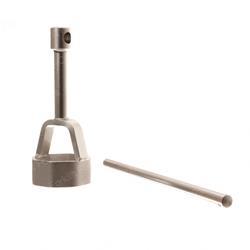
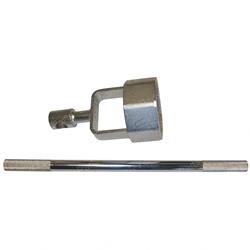
Browse our selection of quality forklift tools for your forklift and material handling equipment.
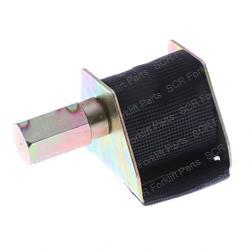
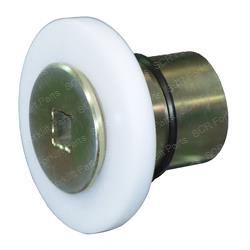
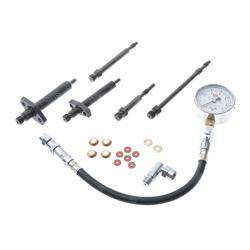
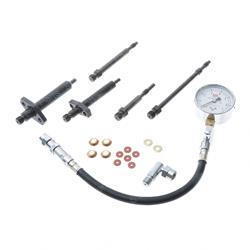
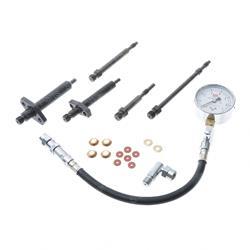
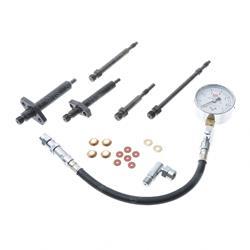
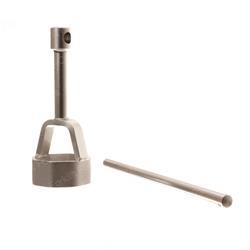
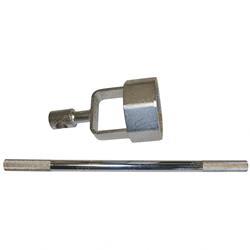
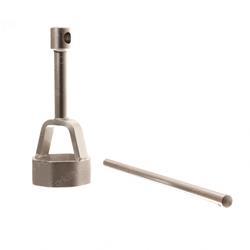
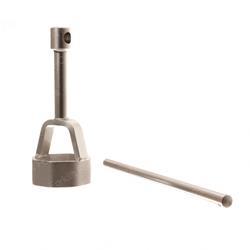
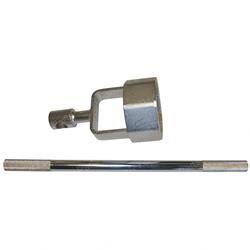
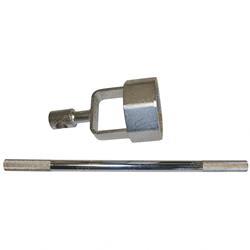
Need a Part You Don't See?
Our specialists have access to over 1 million additional parts. Request a quote today.
A damaged puller, missing adapter, or worn service tool can turn a routine forklift repair into a fitment problem of its own. For forklift tools, identify the repair task, interface, load, and equipment before comparing a replacement tool.
Compare forklift tools by truck identity, dimensions, markings, and mating hardware, then request a quote when the match needs review.
Forklift tools are shaped around a task such as removing a bearing, holding a mast component, testing a circuit, or setting a seal.
When inspecting tools, if the component shows damage, wear, leakage, or inconsistent operation, start with the truck identity and isolate the symptom before removing a component. Inspect the jaws, threads, adapters, pins, handles, drive ends, measuring faces, wear surfaces, and clearance around the repair. Compare the fault with the equipment service procedure, because a shared symptom can come from a circuit, mount, adjustment, or adjacent assembly rather than the first part that looks worn.
Use the measurements that distinguish one candidate from another: thread size and pitch, jaw opening and reach, drive size, pin diameter, adapter shape, working load, and tool markings. Photograph markings before cleaning, keep left and right positions separate, and compare the old component with the assembly around it. If the truck has been modified, include the change in the fitment request instead of assuming the original configuration.
Review the collection listing alongside the physical evidence and the repair task. A part can share a name or general shape with another component while using a different connector, seal profile, thread, mount, material, load direction, or service specification. Stop the selection when a required dimension or identification mark is missing, then request a quote with the remaining details.
During the first inspection, note when the symptom appears, whether temperature, load, vibration, steering, lifting, or charging changes it, and whether nearby hardware shows impact, corrosion, contamination, or looseness. That context helps separate a failed component from a cause in the mating assembly and gives a parts specialist a clear question to answer.
Keep the measurements, markings, and test observations together so the next inspection can follow the same fitment logic.
After installation, inspect adjacent hardware that could have caused the failure and follow the equipment procedure for a controlled function check. Watch for the original symptom under the same condition that exposed it, and document what changed. If the fault remains, keep the truck out of the affected task until the next cause is understood rather than repeatedly replacing similar parts.
Browse the collection, compare the evidence, and request a quote when the correct match needs human review.
Buying guide for tools
- Identify the truck, assembly, position, symptom, and repair task before comparing candidates.
- Inspect the jaws, threads, adapters, pins, handles, drive ends, measuring faces, wear surfaces, and clearance around the repair and look for a cause outside the visibly failed component.
- Measure and photograph thread size and pitch, jaw opening and reach, drive size, pin diameter, adapter shape, working load, and tool markings using the equipment service procedure.
- Compare the listing, old part, mating hardware, and any previous modification as one fitment question.
- Send the truck details, markings, measurements, photos, and failure condition when requesting a quote.